

My daughter is 3 years old and obviously requested a pink design for her bedroom wall. I toyed with the idea of a mural wallpaper that we used for her brother’s bedroom (dinosaur design); however, no pink design spoke to us. Such a self-adhesive wallpaper of the appropriate size costs ~$400. I decided to look for inspiration online and found a couple of simple pink designs of clouds for kids’ bedrooms. I decided to paint the wall myself on a budget. The end result is very satisfying, and the kids love it.
A big advantage of this design is that it is simple! No painting experience or artistic skills are required, 🙂 and it is super cute!
To accomplish this design you will need:
1. Primer (optional). Depending on the wall you are painting you may or may not need primer. Regular painted wall as a starting point does not require a primer. If the wall is stained or in a bad shape, primer might help. Here, we first smoothened the wall using joint compound (a separate blog post describing this process here), and therefore applied primer before painting.
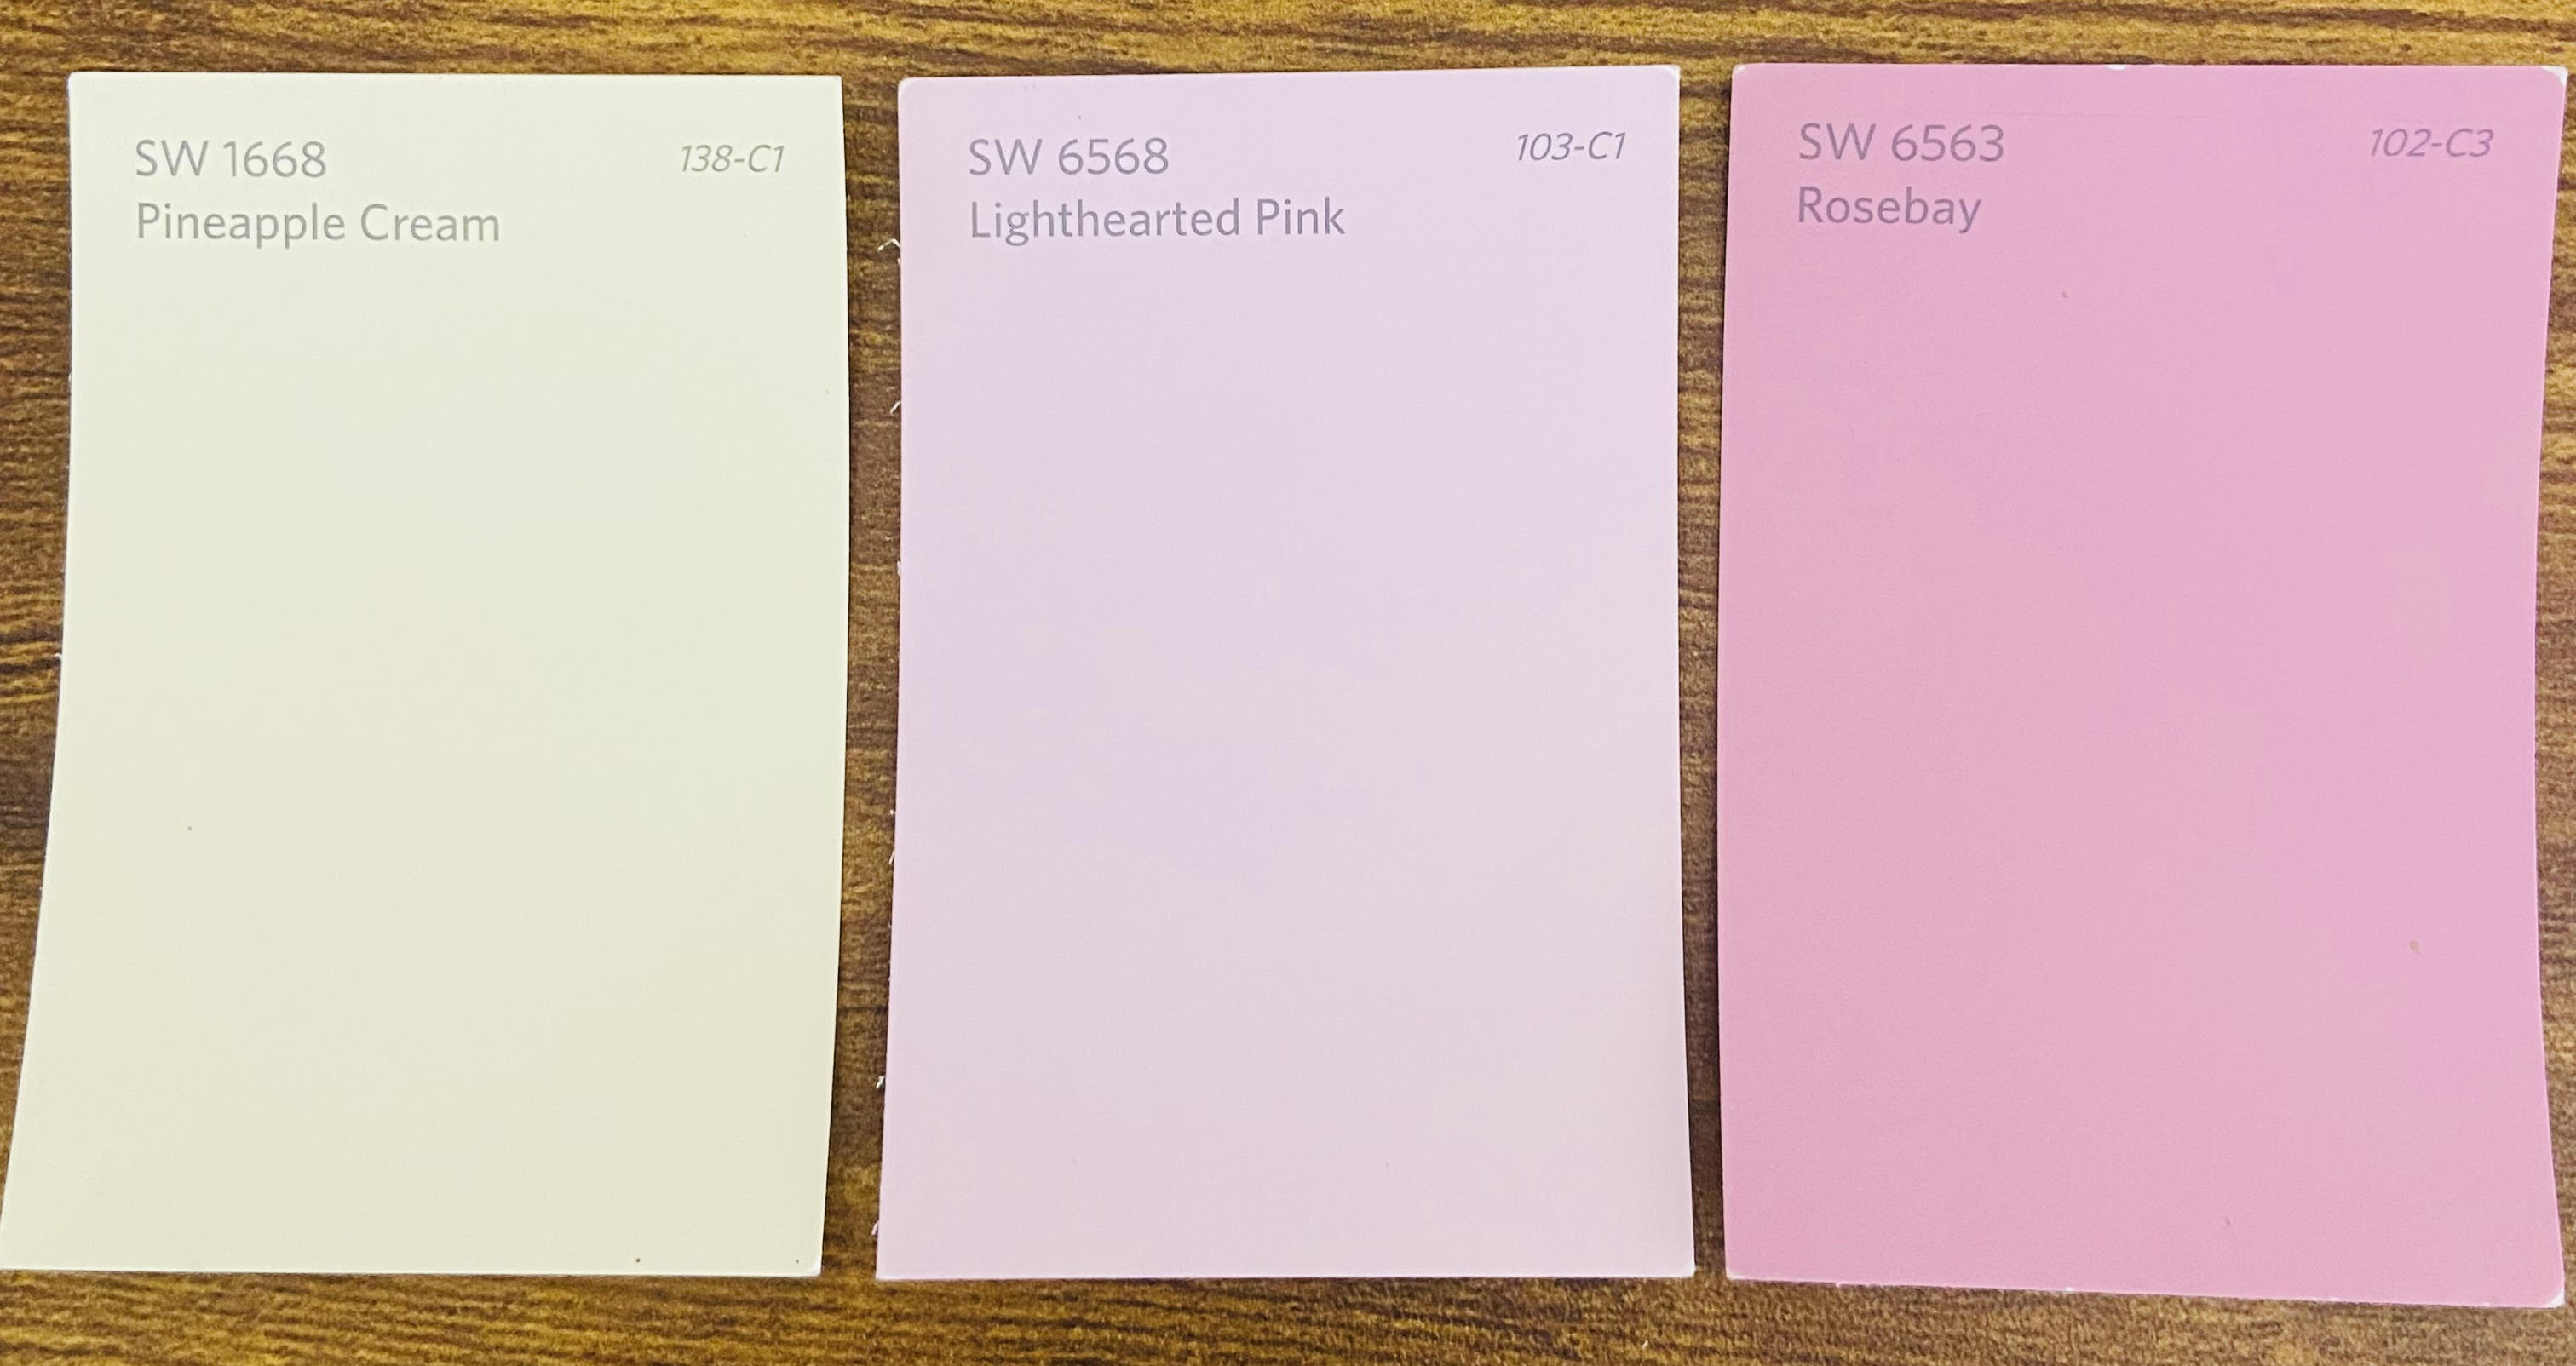
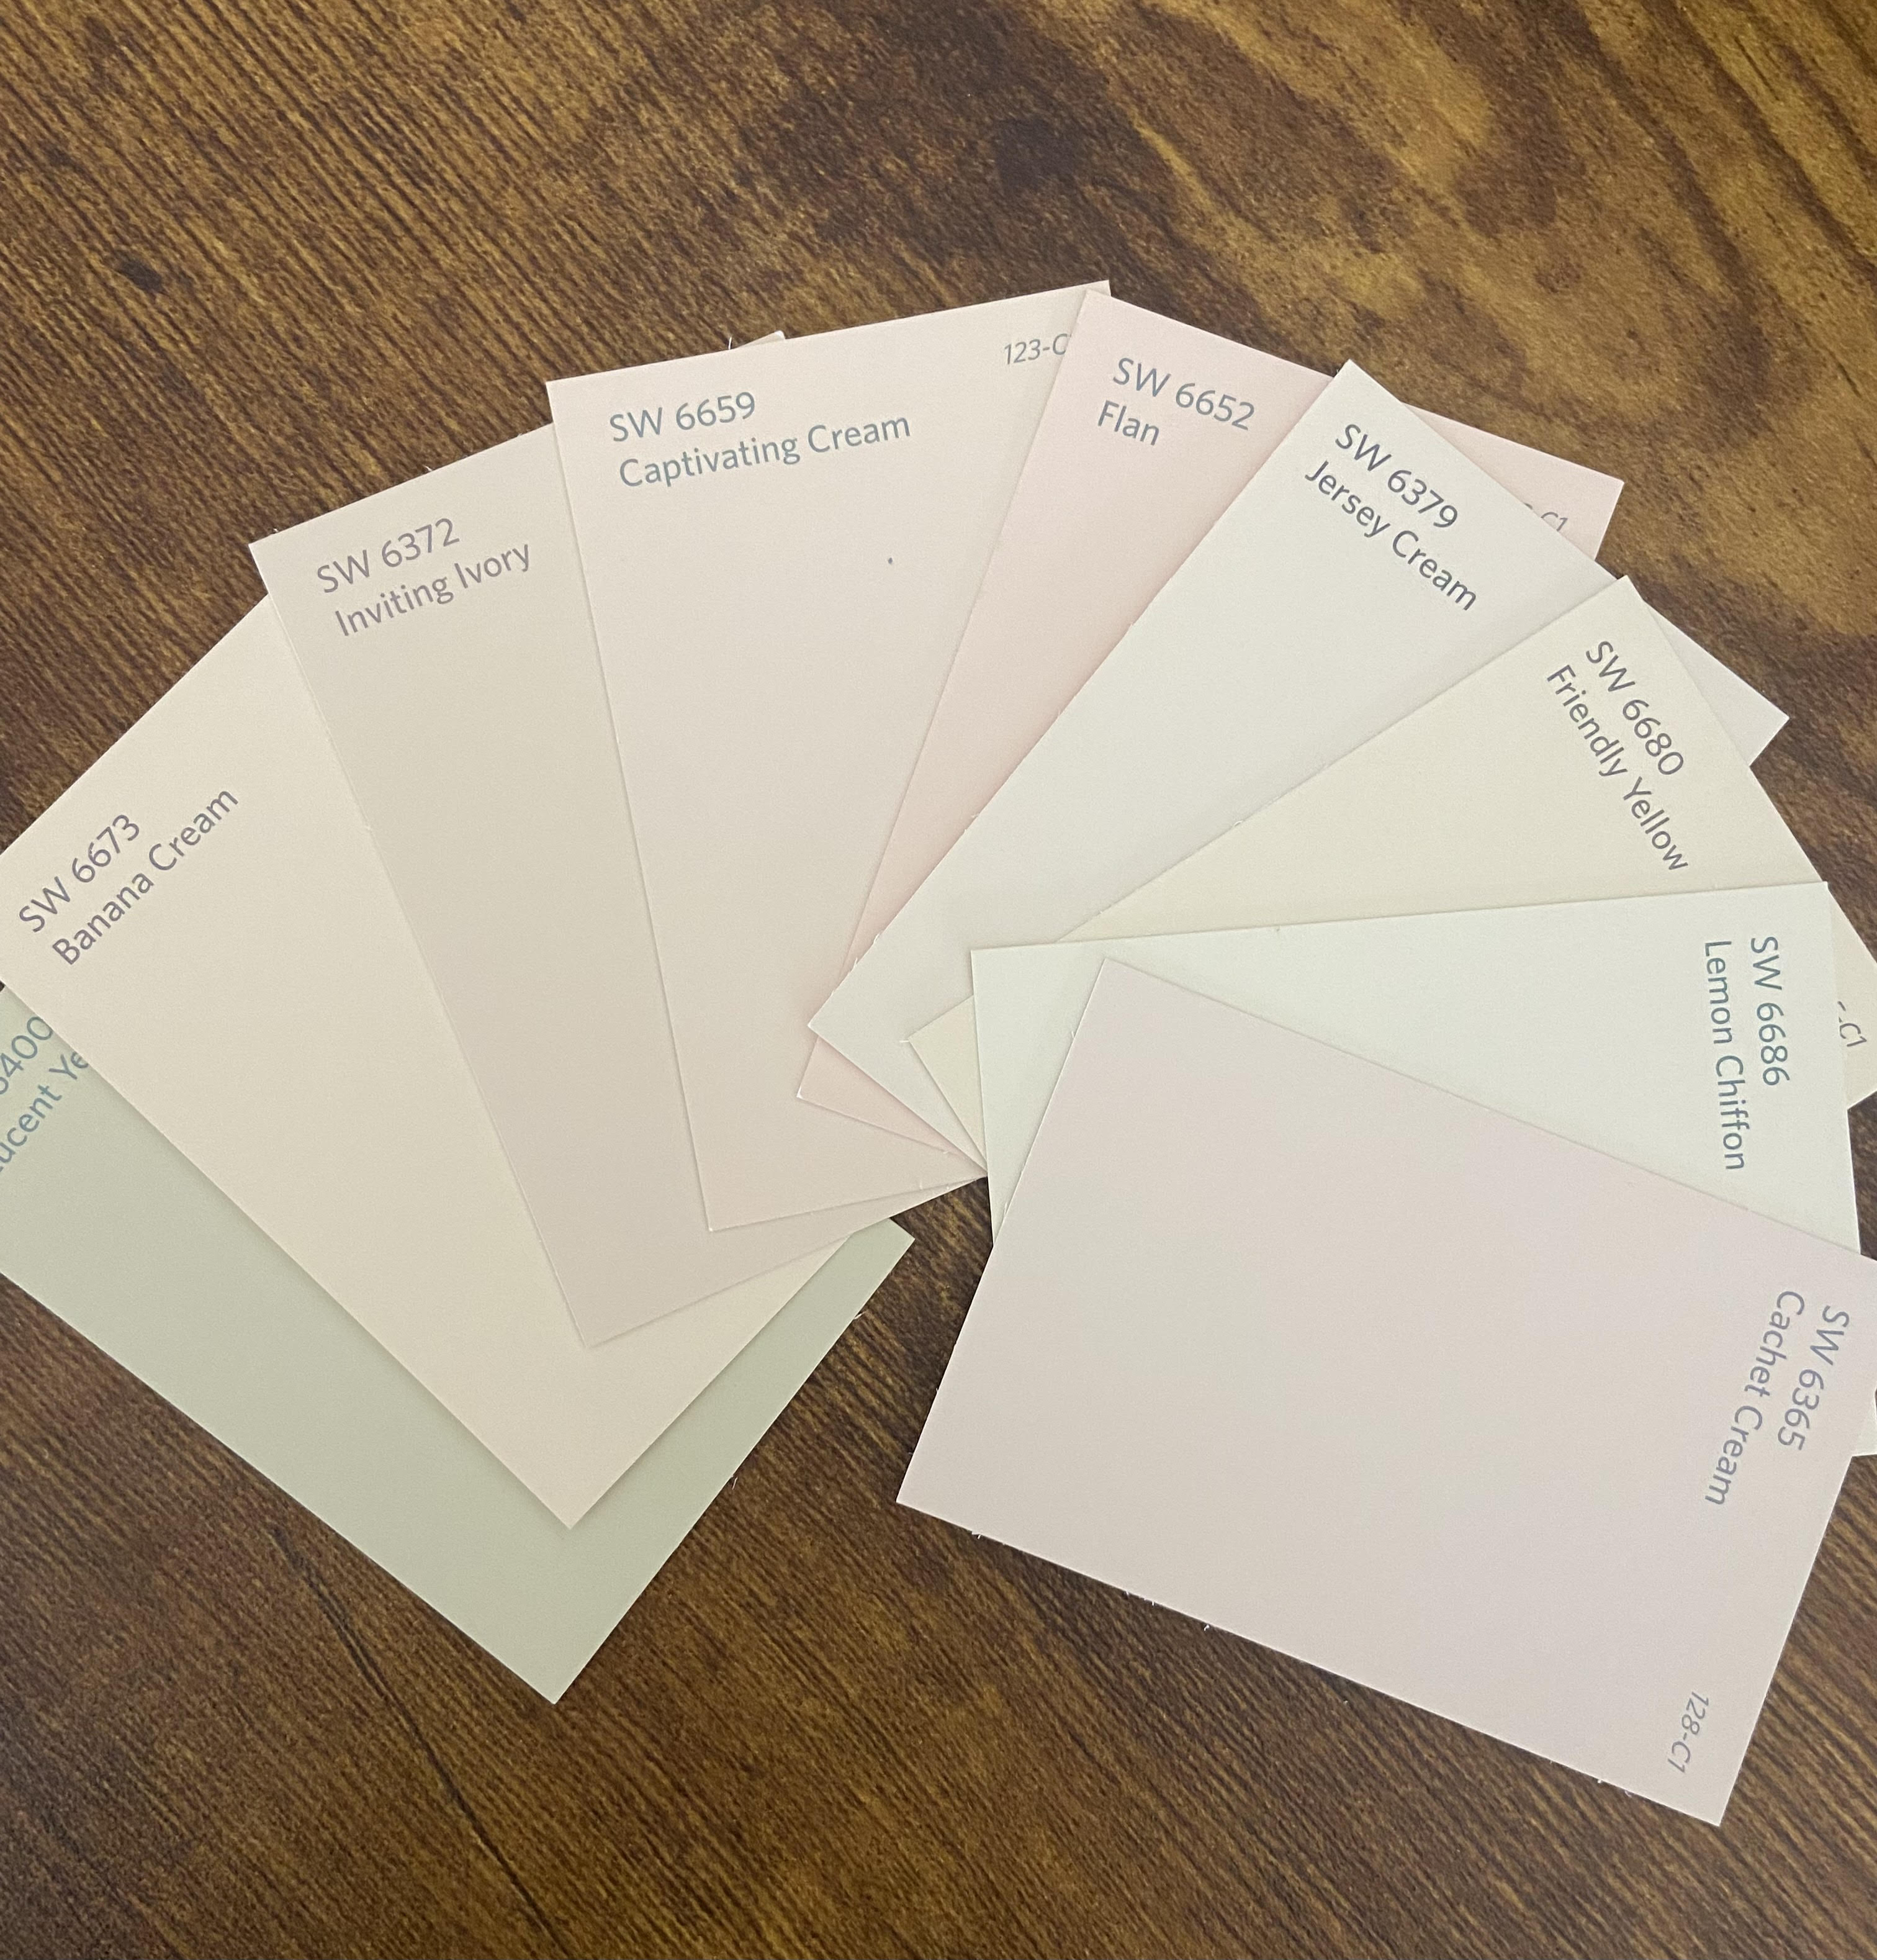
2. Paints (at least two shades of pink, and yellow for stars). For this small wall I got paints in 1 quart cans. We used yellow also on the bed which was grey before, and on a little chair, so got a good use out of 1 quart can. These two pieces of furniture in matching color to the wall, tie the room together nicely. For a few yellow stars a whole can is way too much, so you might want to consider white stars if you have white paint instead. I visited Sherwin-Williams to choose colors. Picked up a handful of pinks and yellows and looked at them by my daughter’s bedroom wall. Eventually I chose these three colors: Pineapple Cream (SW1668), Lighthearted Pink (SW6568) and Rosebay (SW6563). They are on the cooler side, so you might think about what hues work best for you. These colors look a bit different in reality than on the photos, so definitely choose what’s best for you.

2. Brushes, rolls and trays for paint.
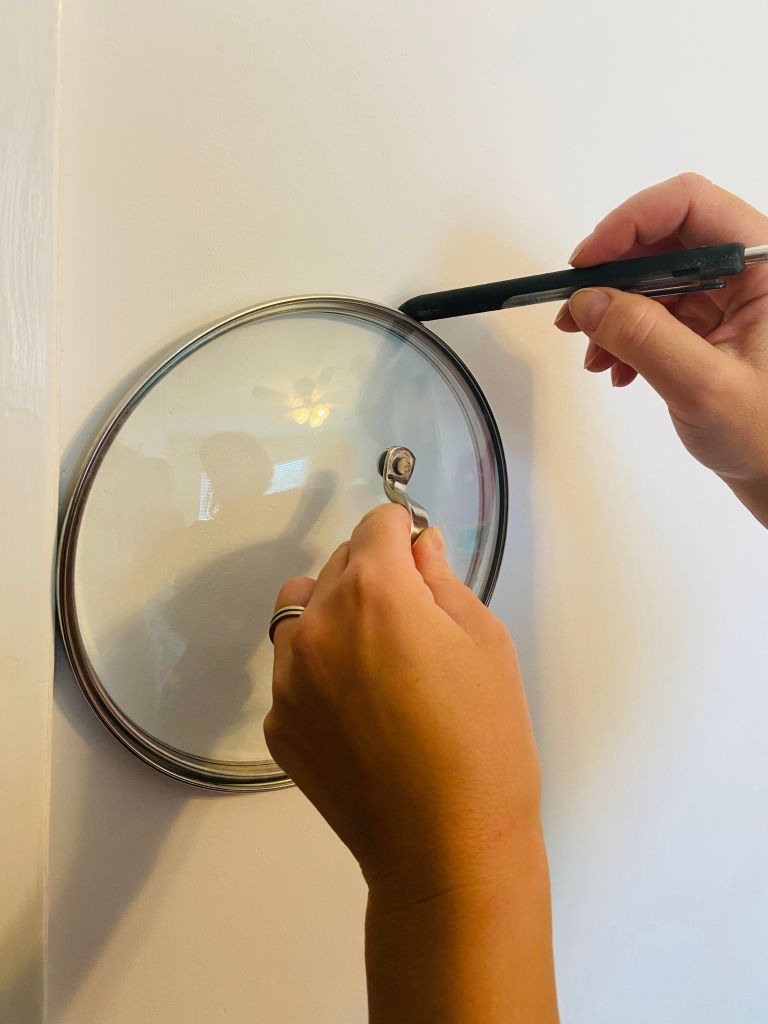
3. I used a pot cover to stencil the round shapes of clouds while holding the pot cover by its handle (see picture below).
Procedure:
Step 1: Stencil the cloud shapes using a pencil or thin brush and pink paint. I drew two layers of clouds. You can first divide (in your mind) the wall into 3 parts of same height and stencil the clouds roughly on these levels. Try to have fun and shape the edge of the clouds as you like it! Don’t worry about mistakes, you can paint over it.
Step 2: Paint the top part of the wall until the cloud edge using the lightest pink paint. You may need more than one layer depending on the wall you start with. Let the paint dry after each layer for at least 24 h.
Step 3: Paint middle clouds with dark pink. I started with edges and than filled out inside using rollers, which gave a smooth finish. Places I couldn’t reach with rollers, were finished with a regular brush. Here is a picture to show the edge. Every time I take a photo the colors look a bit different because of the light. It is the same wall!

Step 4: Paint bottom clouds with medium pink hue. I mixed light pink with small amount of dark to achieve medium color intensity. I used the tray and brush to mix two colors until I got the color I liked.
Step 5: At the end, paint the stars. We made star-shaped cut outs and used them to have consistency in shapes.

Each part was painted with two layers. I used rollers to achieve smooth surface and finished the details with brushes. Especially the edges of the clouds need to be tended to carefully to produce sharp shapes, so take your time. If you trace the edge slowly you will achieve the round shape. You can also correct the shapes with white or light pink paint. Wait for each layer to dry before painting the next one.
Because you will need to wait for paint to dry between layers, it might take few days. The results are worth it though! Total cost was around $100.
